
They Are What They Are
The trouble with writing and sharing traditional, old-fashioned recipes is that they pretty much consist of a standard list of ingredients with very little wiggle room for personal re-creation. They are what they are. More than anything, it’s the tiniest tweak of ingredients and technique that produces that amazed ‘Wow’ every cook loves to elicit, intricately weaving together traditional deliciousness, fond memories, and a little something more.
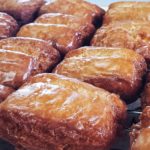
And so it is with this Old-Fashioned Buttermilk Donuts recipe—simple, commonly assumed ingredients with a touch more yum than generally expected. I began developing the recipe, keeping it relatively small as a breakfast starter for bed&breakfast guests at The Metamora Inn. By my estimation, they are best fresh. Nobody needs a bunch of leftover donuts hanging around –most certainly not in my house.
This post contains affiliate links. Read my disclosure policy here.
I’ll confess I hardly knew what I was getting myself into when I decided to play a bit with a buttermilk donut. After all, southern influenced cook that I am, I grew up chasing buttermilk and shortening around the kitchen, and more fry gadgets than any self-respecting Californian would ever care to imagine.
Necessary Tools –Necessary!
But here in my modest mid-western cottage kitchen, deep frying is done quite a bit more reservedly. So much so that once I got going, I was surprised by the inadequacy of my tools! Worst of all, it was my glass top, radiant heat stove that wasn’t cuttin’ it, giving me grossly unpredictable temperature swings that wooden spoon handles and pinched dough tests were hopeless to detect with any accuracy.
Soon armed with a humble grocery store candy/deep-fry thermometer, I diagnosed the situation and was able to make do with what I have –after more failed batches than I care to admit. Fast dancing with my stove controls and watching the thermometer like a hawk, I learned a thing or two more about deep fat frying with this venture than my southern born and bred mama prepared me for –valuable life lessons, to be sure.

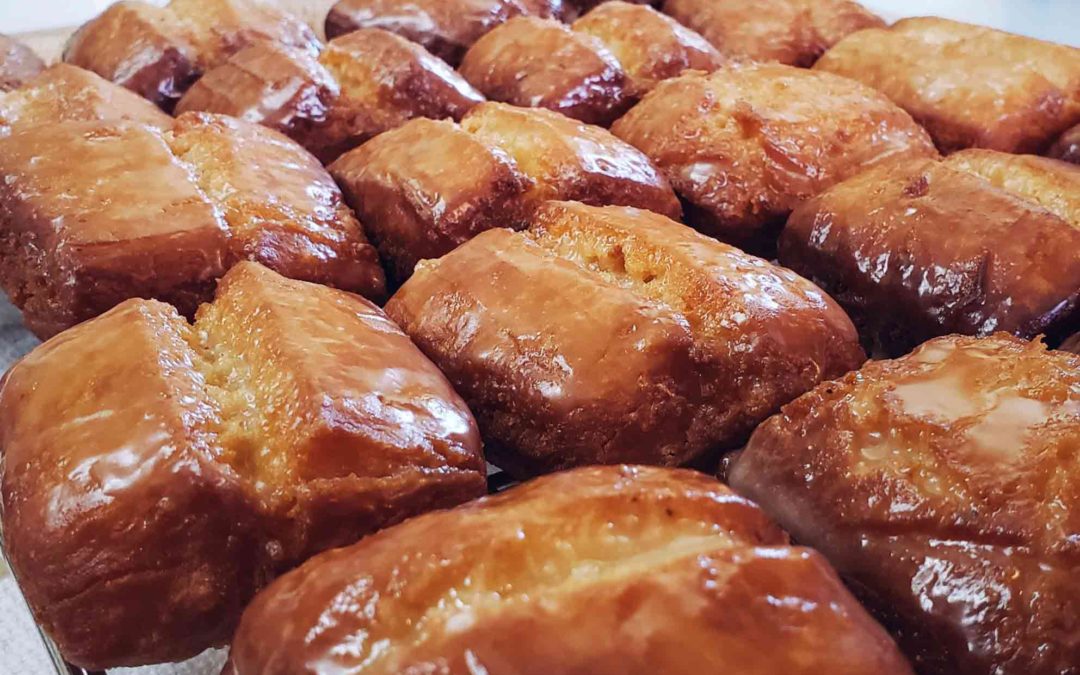
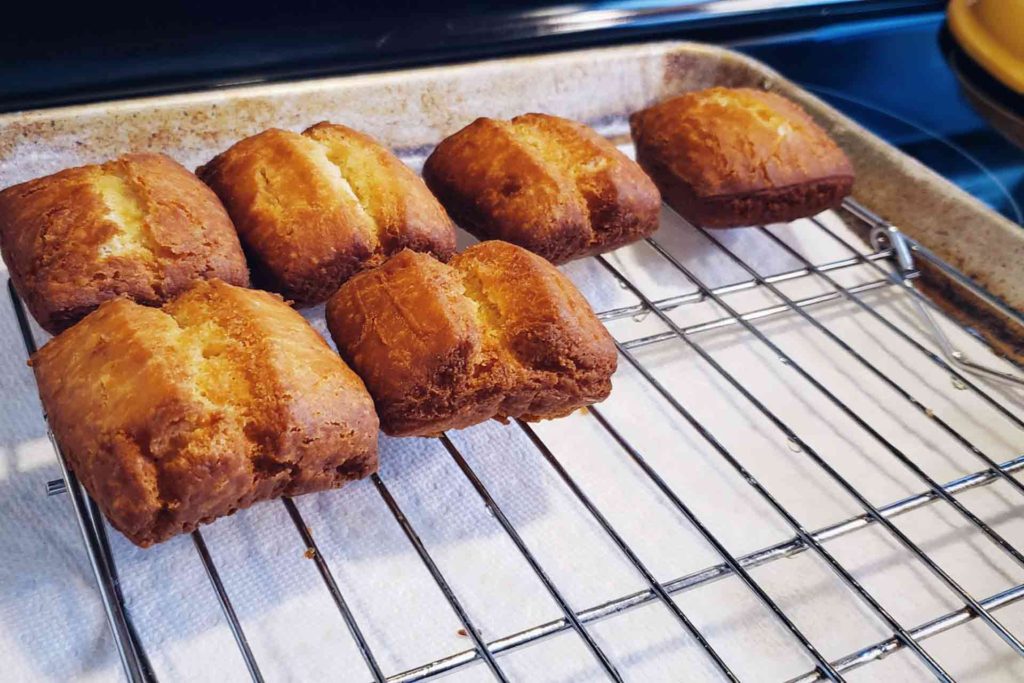
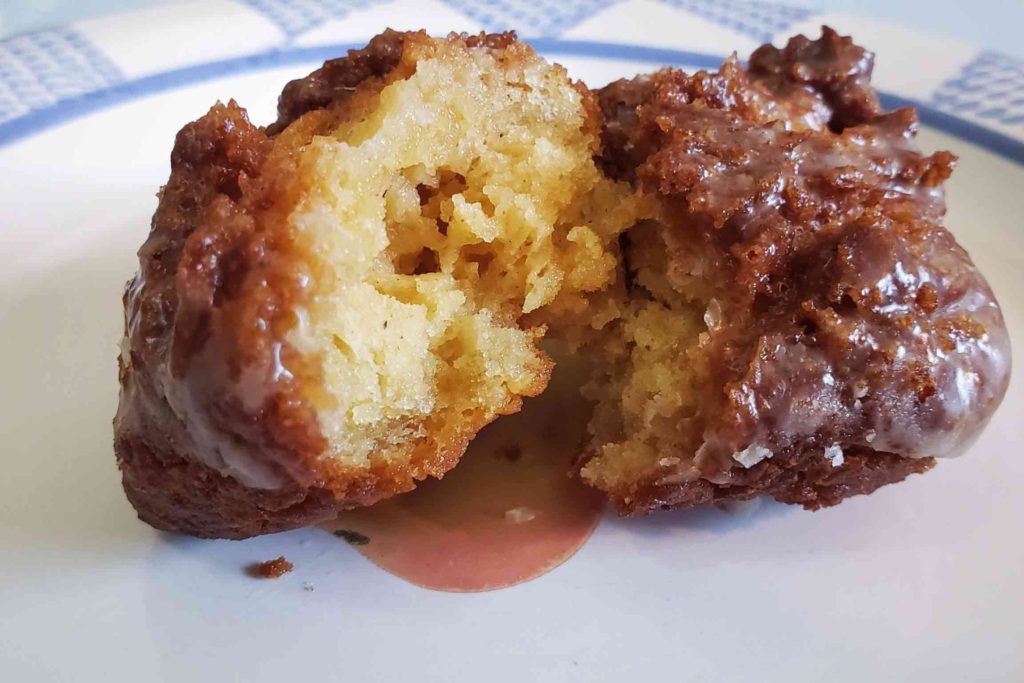
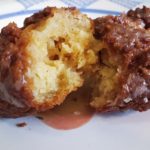
All to say, Old-Fashioned Buttermilk Donuts should be lightly crispy on the outside yet tender and cakey in the middle. Never greasy in the least bit. They should taste sweet and tangy, with a hint of nutmeg — unmistakable in essence, yet not overwhelming. I won’t be modest here. This recipe knocks it out of the park!
Admittedly, the recipe is temperamental. But I’ve tested it so many times now if followed carefully, you’re sure to find delightful success with relative ease. Be sure to read through my recipe notes before starting your homemade donut adventure. Easy yet specific, they’ll save you a boatload of time, effort, and ingredients. Enjoy!
Check out more of Grammie’s Favorite Kitchen Tools here!
Old-Fashioned Buttermilk Donuts
Ingredients
Dough
- 2 1/4-2 1/2 cups Cake Flour plus more on-hand for for shaping. *See recipe notes
- 1 1/3 teaspoon Baking Powder
- 1/8 teaspoon Baking Soda
- 3/4 teaspoon Salt
- 3/4 teaspoon Nutmeg
- 2 Tablespoons Unsalted Butter
- 1/4 cup Brown Sugar
- 1/2 cup White Sugar
- 1 small Egg
- 1 Egg Yolk
- 1 1/2 teaspoons Real Vanilla Extract
- 1/3 cup Buttermilk
- 1 Tablespoon Sour Cream
Frying Oil
- 24-32 ounces Vegetable Shortening *See recipe notes
Icing
- 1 1/2 cups Powdered Sugar sifted
- 1 teaspoon Real Vanilla Extract
- 1/4 cup Water boiling hot
Instructions
-
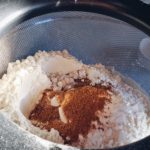
Sift together cake flour, baking powder, baking soda, and salt. Set aside.
-
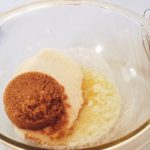
In a medium-sized glass or ceramic bowl, gently melt butter in the microwave. Add brown and white sugars and whisk together.
-
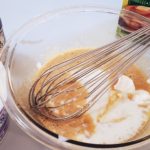
Add the egg and additional egg yolk. Whisk until light and fluffy. Add buttermilk and sour cream, whisking until well blended and no lumps of sour cream.
-
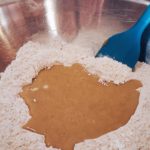
Add wet ingredients to the dry, folding together gently until just blended. Be careful to not overmix. Use a rubber spatula to scrape the dough into a clean bowl to chill, covered in the frig for 2-12 hours.
-
The dough should look like a soft, sticky cookie dough. If too sticky, add a couple of tablespoons more (up to a quarter cup, but no more).

-
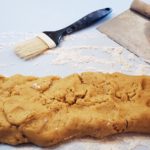
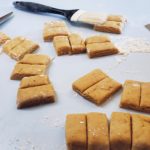
After chilling dough, add a fistful of cake flour onto a clean work surface. Using a rubber spatula, scrape the chilled dough out onto the floured surface. Pat dough out with floured hands to an approximate 16"x3 1/2" x1/2" rectangle. [Pictured in process, not yet finished pressing out.]
-
Cut into 12, 3 1/2" bars. Cut bars in half for 24 squares. Slice a deep slit across the top of each square. With a dry brush, brush off any excess flour on both sides and set prepared dough squares aside on clean parchment paper.
-
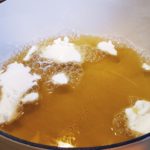
Add shortening to the dutch oven. Position your deep-fry thermometer and heat oil to 375 degrees.
-
Quickly prepare the icing while the oil is heating. Add powder sugar, vanilla and hot water to bowl and stir together until entirely smooth. Set aside.

-
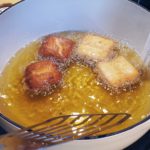
Add donuts two at a time. After 50-60 seconds, turn the first two donuts and add two more. I usually pause with these first few, giving them several minutes before checking for doneness (adjust fry time accordingly).
-
Rotate through the rest of the prepared dough, frying all the donuts.
-
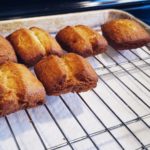
Dip the top side of warm doughnuts into the icing and replace them on the rack to cool.
-
Donuts are best while still, the slightest bit warm, and for several hours after, on the day they are fried. Enjoy!
Recipe Notes
Essential Tools:
- A stainless-steel dough scraper.
- A natural pastry brush.
- A candy/deep-fry thermometer. I used one like this. Digital models may be easier to monitor like this one.
- A 4-5 qt dutch oven. I used my Lodge 4.5 qt enameled cast iron dutch oven. But a basic stainless-steel type like this would be adequate. The bigger your pot, the more shortening you'll need.
- A stainless-steel flexible fish turner or spider strainer.
- A stainless-steel cooling rack.
- Paper towels
Suggested Ingredients:
I like to keep these quality ingredients on hand for Buttermilk Doughnuts, having good success with King Arthur's Cake Flour and Spectrum's Vegetable Shortening (also found in major grocery stores). I do not recommend All-purpose Flour, Self-Rising Flour, or liquid Vegetable Oil substitutes for this recipe --I gave each of them a try with disappointing results.
Tips:
*Doughnuts will continue to cook a tiny bit after removing them from the hot oil. Give them a couple minutes before cracking one open to test doneness. Plan on a few mishap donuts until you get very comfortable with your tools, set up and maintaining oil temperature.
*This recipe can be doubled.
*The dough is super sticky, so it is essential to chill it before shaping into donuts --anywhere from 2-12 hours. I like to quickly make my dough just before bed, cover, slip it into the frig, and it's ready to work with in the morning.
*375 degrees is the optimal oil temperature for frying these donuts. However, 365-380 degrees is a workable range that will still give you potentially perfect donuts. Temps more or less than that --yipes! A seriously different story.
*Cool, filter, and store your shortening in the frig for another day. I use a coffee filter with a funnel to filter mine into a wide-mouth canning jar and cover it with a lid.


Can you make the dough the day before and leave in the refrigerator overnight?
Yes! That’s my favorite way to make them.
These look amazing!
Thank you so much!