I can’t say if it was the culture from my Southern folks or if it was their particular taste. I didn’t grow up having this Best Pinto Beans Recipe bless our family dinner table. Blackeyed Peas were my mom’s dried bean of choice – and those we had plenty (yum)!
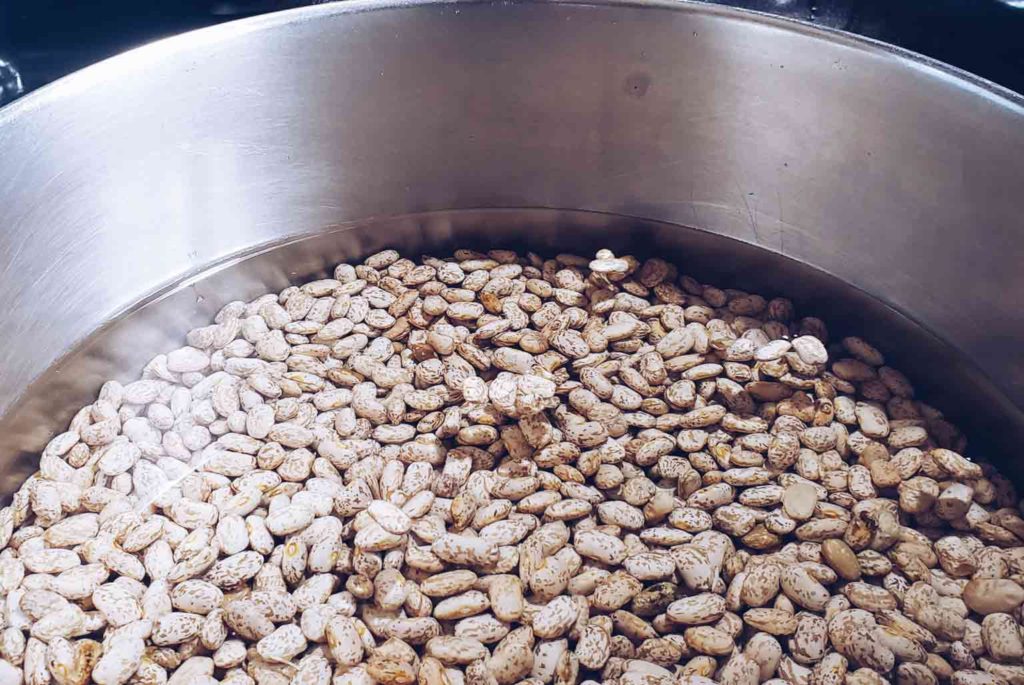
Here at Grammie’s Cottage Kitchen, we enjoy lots of variety. Back in the late ’80s and throughout the ’90s, where almost every household had some kind of Y2K prepping going on in their garage or basement, we stored up all sorts of dried beans given their easy to store nature and widely reported resource of fiber, vitamins, minerals, and protein. They are a nutritional powerhouse!
This post contains affiliate links. Read my disclosure policy here.
As you might imagine, rotating stock of those 25lb bulk bags of beans took some effort! As a result, they gave me more opportunities to craft bean recipes than my family genuinely appreciated.
Out of all those dried beans, I wound up creating a few family-favorite recipes. These hit the spot when the mood strikes or when pennies are few. They are classic yet unique. Further, still, each is full-flavored and distinctively different from the other.
Conflicting Information
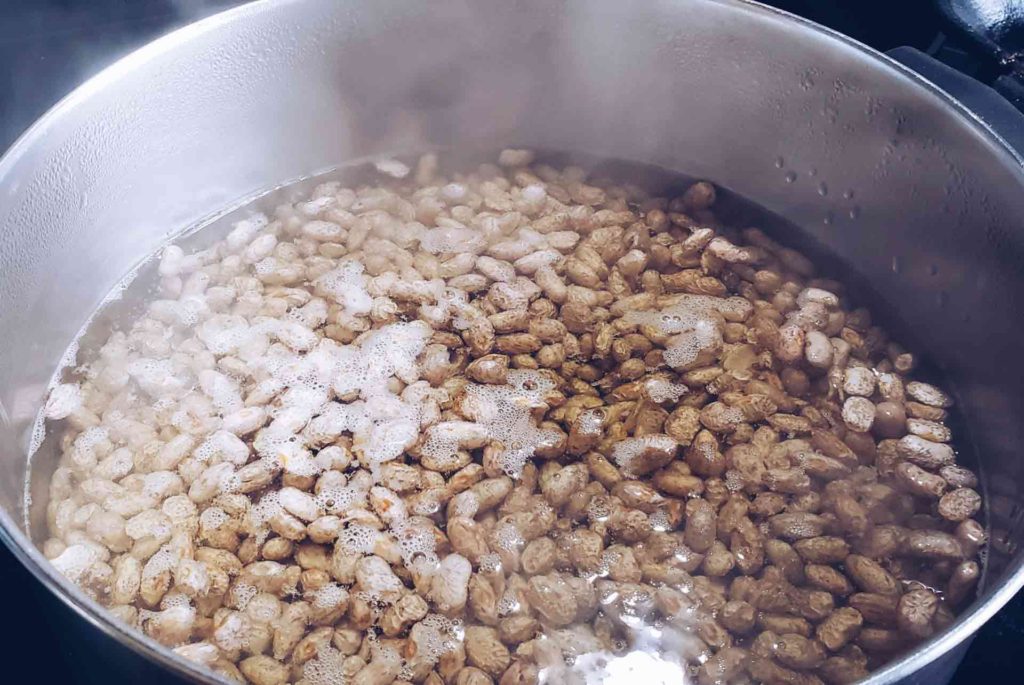
Researching how to cook your own dried beans, you are sure to come across conflicting information. Some folks presoak their beans while in contrast, others insist there is no need. Both claim ‘scientific’ findings that make my head spin.
I confess I am one who is willing to try just about anything to potentially decrease, shall we say, certain uncomfortable digestive issues involving dried beans. My advice on the matter is if you or your family are concerned with this ‘situation,’ beans are delicious and nutritious enough to warrant keeping some digestive enzymes on hand.
For some reason, I always forget to use the gentle overnight soaking method. Consequently, I generally reach for the ‘quick soak’ esteemed to give a similar result. Inevitably, that’s where this kind of pictured tragedy happens – at that moment where best intentions and racing collide.
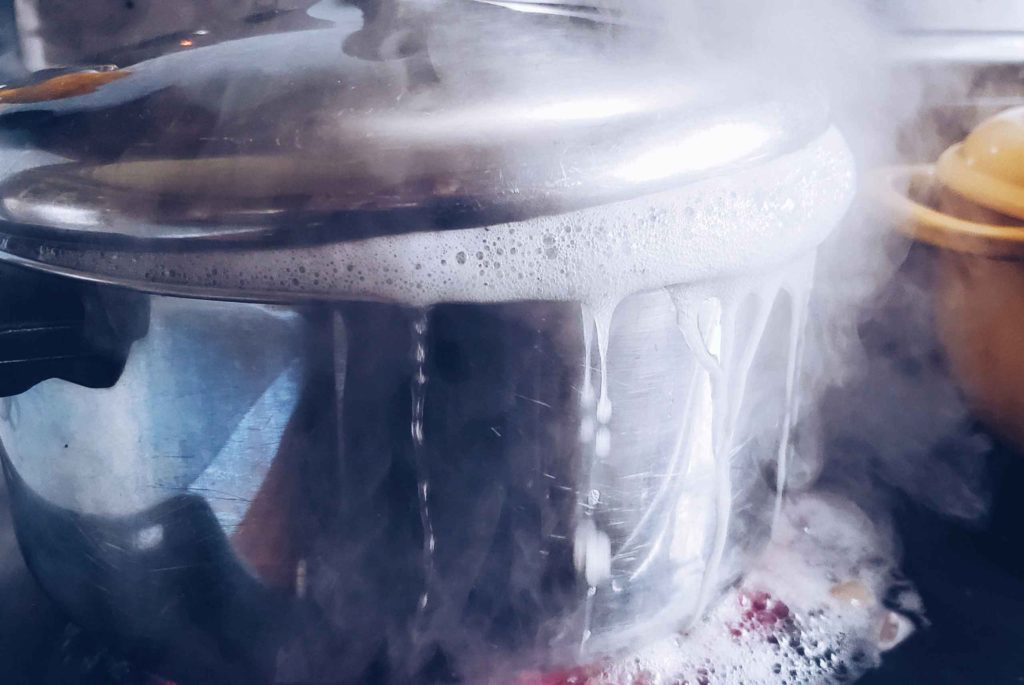
Not only does this leave a mess to clean, but it is rough on the delicate bean skins as well. Save yourself some trouble. Whatever you do, maintain a medium-LOW heat and tilt the lid when simmering beans!
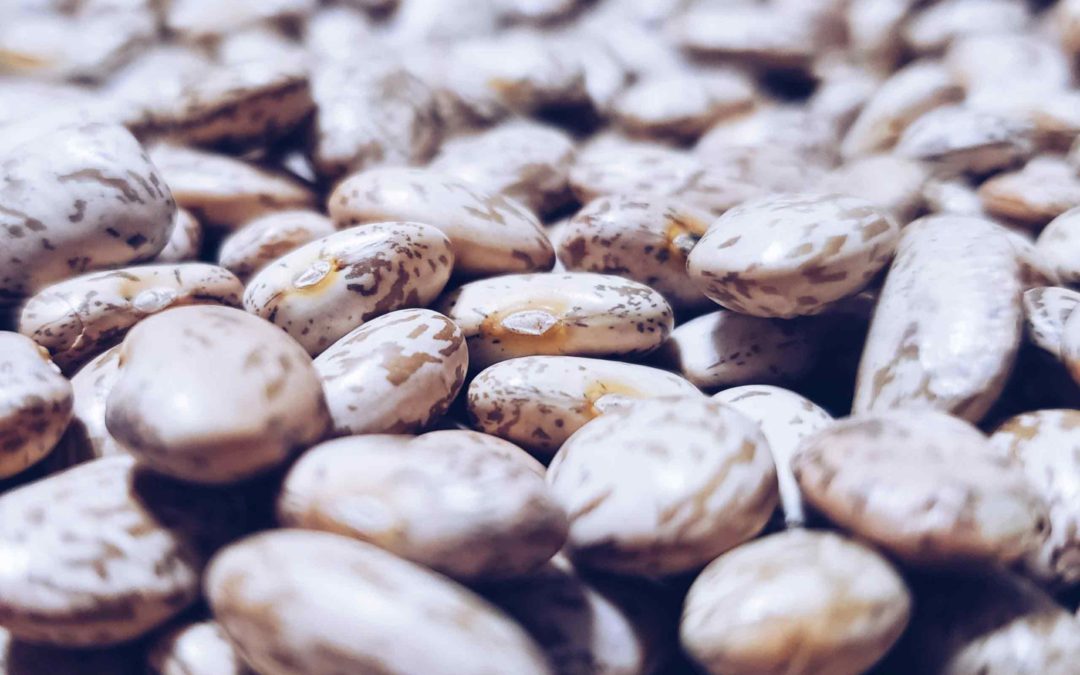
Pintos have a powdery quality which makes them splendidly light. Because of this, I like to keep them slightly wetter while cooking than might seem right. Given a bit of time to rest, the Pintos will thicken naturally and you’ll avoid them becoming too dry.
Grammie’s Best Pinto Beans can be served mashed similarly to refried beans or left whole. Either way, they are perfectly seasoned and delicious! Use them as a side dish, a primary filling, or as a layer in any number of other recipes. This recipe is all the more flavorful the second day (or used after freezing).
Grammie's Best Pinto Beans Recipe
Ingredients
- 4 cups Dry Pinto Beans
- Water *see directions
- 2 large Dried Bay Leaves
- 4 tablespoons Bacon Fat Crisp a few pieces of bacon if you don't have any on hand. *(Alternately, use Olive Oil if wanting beans to be vegan)
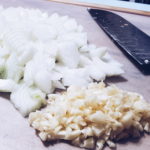
- 2 medium Onions diced small
- 8 cloves Fresh Garlic crushed and chopped fine
- 1 pinch Crushed Red Pepper Flakes (optional, but recommended)
- 2 1/2 teaspoons Dried Thyme
- 2 1/2 teaspoons Sweet Paprika *(Use Smoked Paprika if using Olive Oil for vegan beans)
- 2 teaspoons Cumin
- 3/4 teaspoon Ground Black Pepper
- 3 teaspoons Sea Salt (possibly more to taste at the end of cooking, but go easy) )
Instructions
-
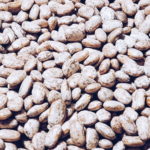
Spread out your dry pinto beans and check for any rocks, debris, or malformed beans and discard. Rinse beans in a colander.
-
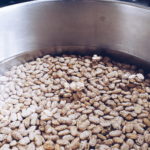
Add to a large pot and cover with water, 2 inches above settled beans. Cover with a tilted lid.
-
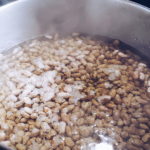
Bring beans up to a gentle simmer over medium-low heat. Once simmering, turn off the heat and allow beans to soak in hot water for 1 hour.
-
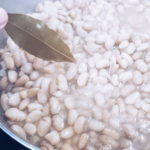
Pour off any soaking water left on beans. Add fresh water to cover leveled beans plus an additional 1 1/2 inches. Add bay leaves and simmer beans gently over medium-low heat for 1-2 hours, depending on how old the beans are. Periodically test. Beans should cook to be completely soft (not hard or grainy), but still intact.
-
While beans are simmering, prepare aromatics for cooking.
-
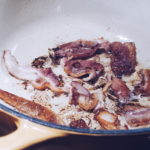
In a heavy dutch oven, add bacon fat or render fresh fat by crisping a few pieces of bacon. Remove bacon and set aside for another use.
-
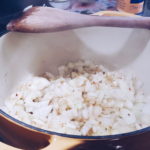
Add onions and red pepper flakes (if using) to fat. Saute onions, beginning to caramelize. Add garlic and saute gently, not browning but cooking until soft.
-
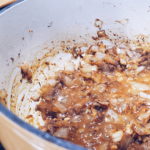
Add thyme, paprika, cumin, and black pepper toasting the seasonings a bit. Add salt and a splash or two of the bean water to combine well.
-
Carefully ladle the hot cooked beans into the dutch oven with seasonings. Gently stir together until well combined.

-
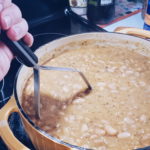
If mashing beans, carefully use a potato masher. We like our beans rustic and chunky, so I only mash about half of them.
-
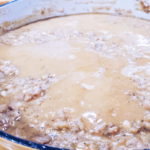
Taste and add salt if desired. Add water if beans are too dry to lightly simmer without scorching. Cover and simmer very gently on low, about 15 minutes.
-
-
Give beans a stir. Re-cover and allow beans to rest with no heat, another 15 minutes. Beans are now ready to use as desired. They will taste all the more amazing and full-flavored on the next day or beyond. Use freshly cooked beans within 3-5 days or freeze leftovers.
Serving Suggestions
Bean Burritos:
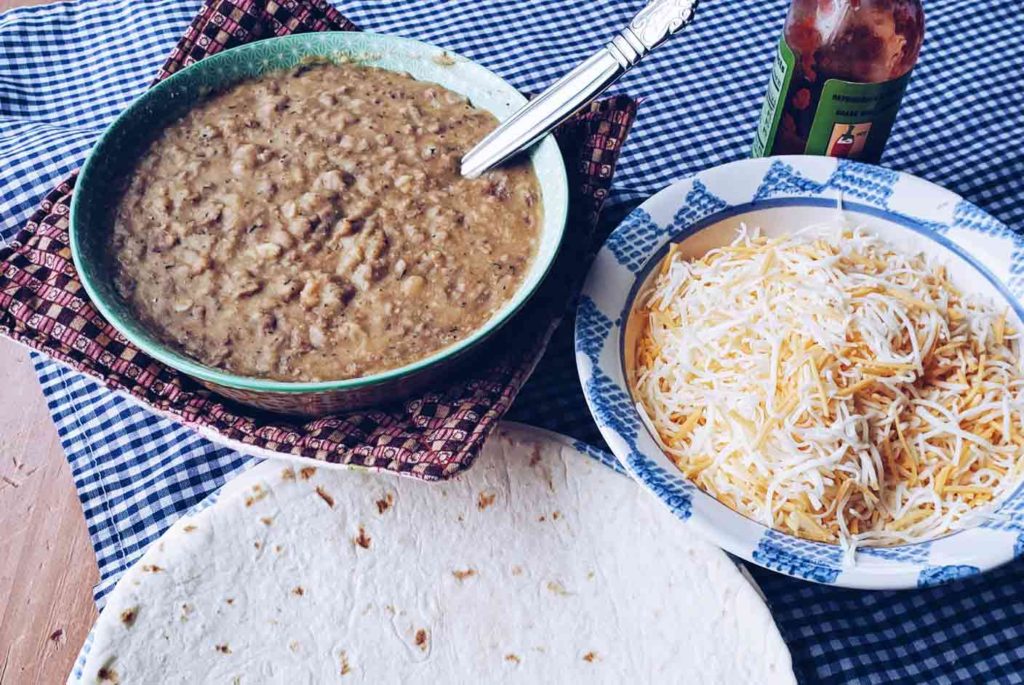
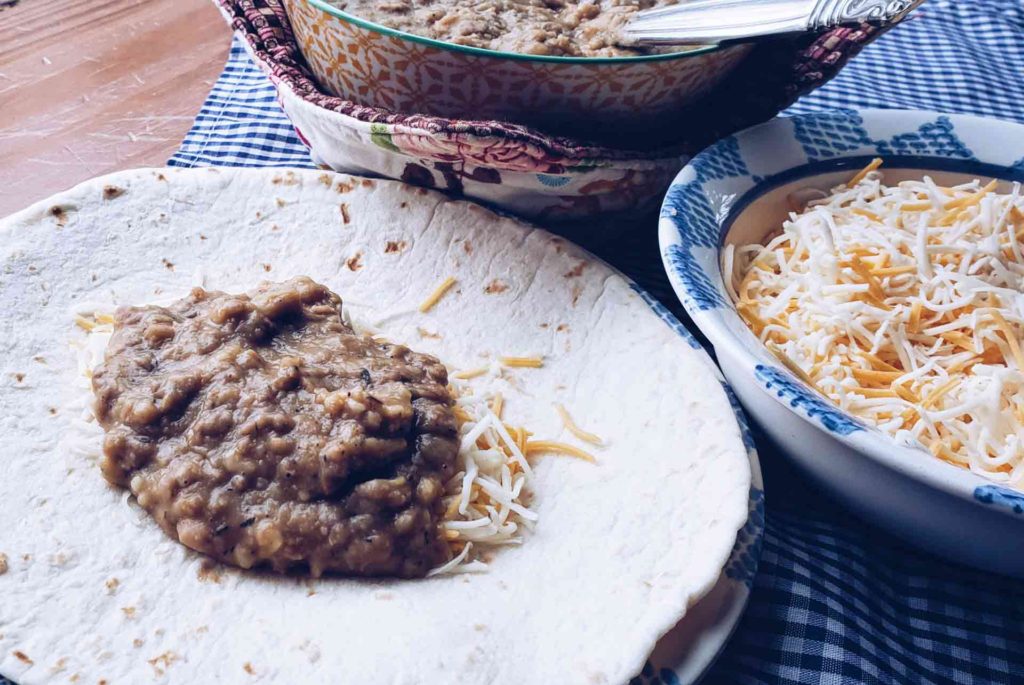
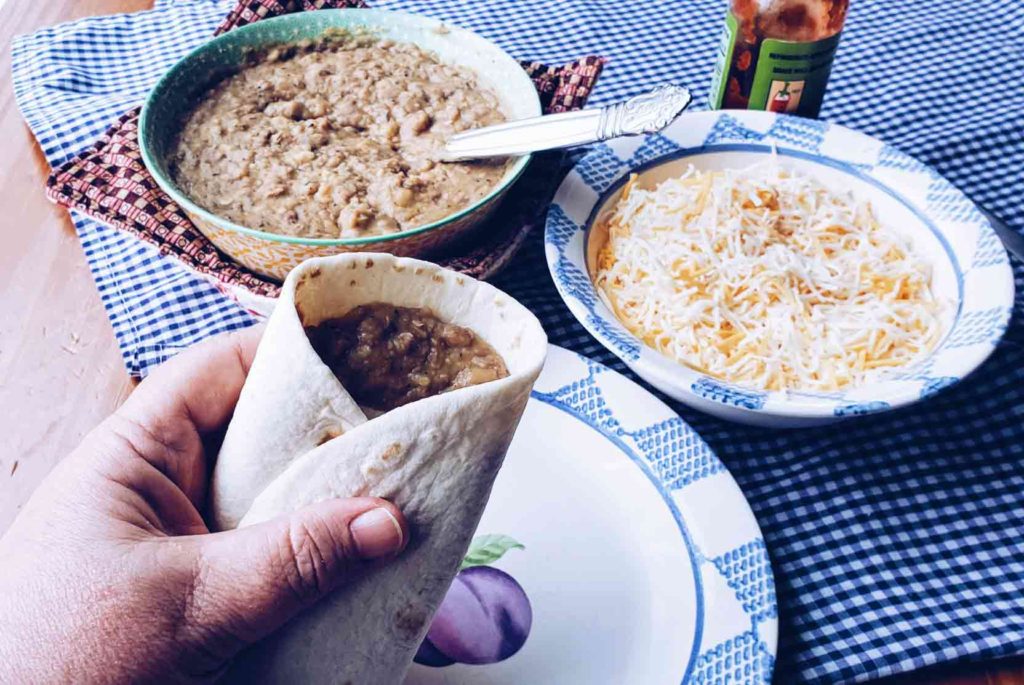
Delicious and nutritious, Bean Burritos are quick and easy comfort food – especially if you premake them as a grab-and-go freezer meal. Simply top a gently warmed flour tortilla with approximately 1 ounce of grated Cheddar or Mexican Mix Cheese and 3 heaping tablespoons of Grammie’s Best Pinto Beans (add a few shakes of hot sauce if desired).
Fold into a small Burrito and cover individually with a paper towel. Add to a plastic freezer bag or container. To serve, remove individual burritos from the freezer, sprinkle the paper towel wrap on the burrito with just a few drops of water and microwave for 2-3 minutes. Yum!
Corn Burritos:
New to me, I recently came across Hi-Ho Sauce on a nostalgic trip to Thousand Oaks Farmers Market in California. They were sampling (back in the days they could do so) their delicious sauce and I fell in love! I had also never tried a ‘corn burrito,’ which I’m told should look more like a taquito, but I’m notorious for overstuffing things.
Nearly as simple as the Bean Burrito above, gently warm (don’t skip this step, the tortilla will crack) several corn tortillas. Add 1-2 spoons of Grammie’s Best Pinto Beans to each corn tortilla and roll like a taquito.
Lay seam side down on a hot, lightly greased skillet and brown. Carefully turn to brown both sides. Add Hi-Ho sauce (or any Tex-Mex sauce) and a bit of cheese. Slip the topped burritos into a hot oven to melt the cheese and serve. Get ready for a kick, these are spicy a-m-a-zing!
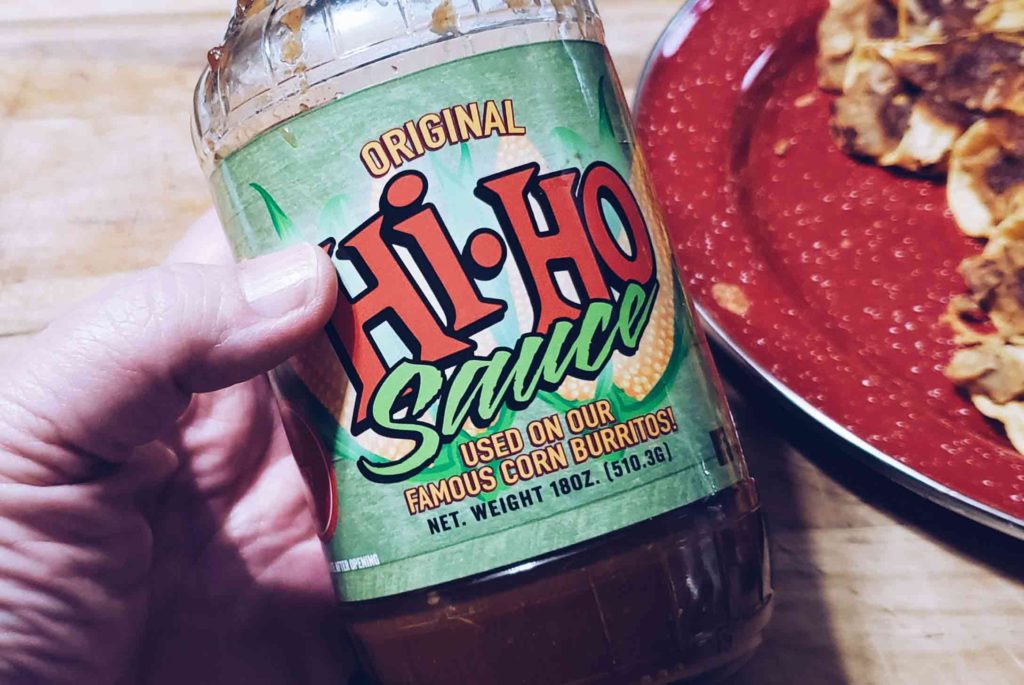
Hi-Ho Sauce is unique and delicious! 
Grammie’s Corn Burritos with Hi-Ho Sauce
Check out Hi-Ho’s story!
Freeze Leftovers:
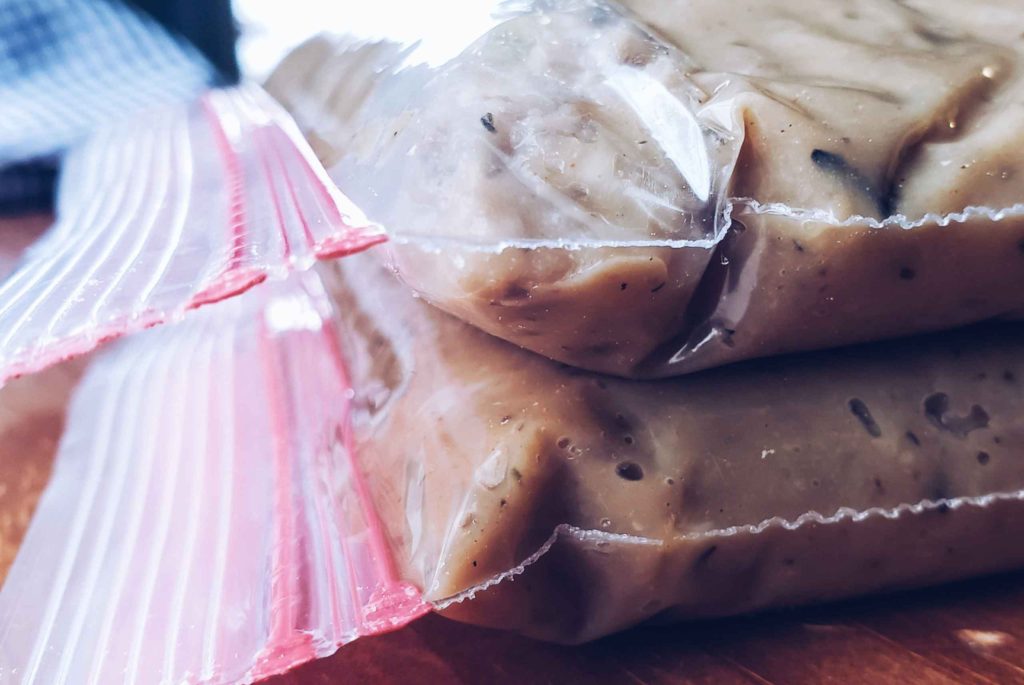
Precooked and frozen Pinto Beans are a great time and money resource to have on hand, not to mention a ready, delicious comfort food. I label and then add a generous 2 cups per quart size freezer bag, sealing out as much air as possible and flatten for stackable freezer storage.
Looking for other dried bean recipes? Be sure to check out my Lentils with Pasta!

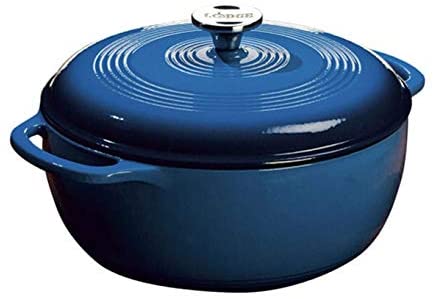
I love my Lodge Dutch Oven, currently available on Amazon in two colors. It is versatile, heat distributes evenly, and it washes up pretty!




Trackbacks/Pingbacks